Introduction
It is worth knowing that painting the walls of your trailer or manufactured home will permanently change the appearance and outlook of the interior. If done with solid preparation, quality paint, and proper equipment, you can obtain a great look and an updated appearance for your home. In this guide, we will take you through the most critical steps you need to follow to paint the walls of a trailer house.
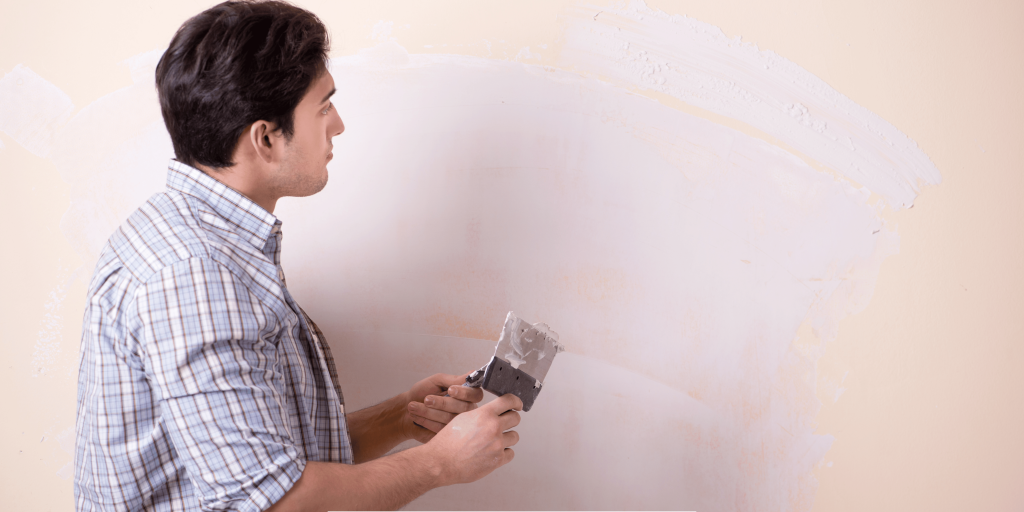
Evaluate the Existing Wall Surface
In other words, you should survey your walls first to assess whether they are ready for a fresh coat of paint or if there are some problems that should be solved before painting. Look for cracks, holes, gaps in paneling or wallpaper, dampness, grime or grease, and areas where paint is chipped or peeling. Fill up any crack or hole with spackle or caulk and clean up any debris or old material that may be present. Wash dirty walls with cleaner to eliminate grease and dirt that might hinder the ability of the new paint to bond to the surface. Sand and spot any area of paint that has peeled. Before painting, all walls must be clean, dry, and in good condition.
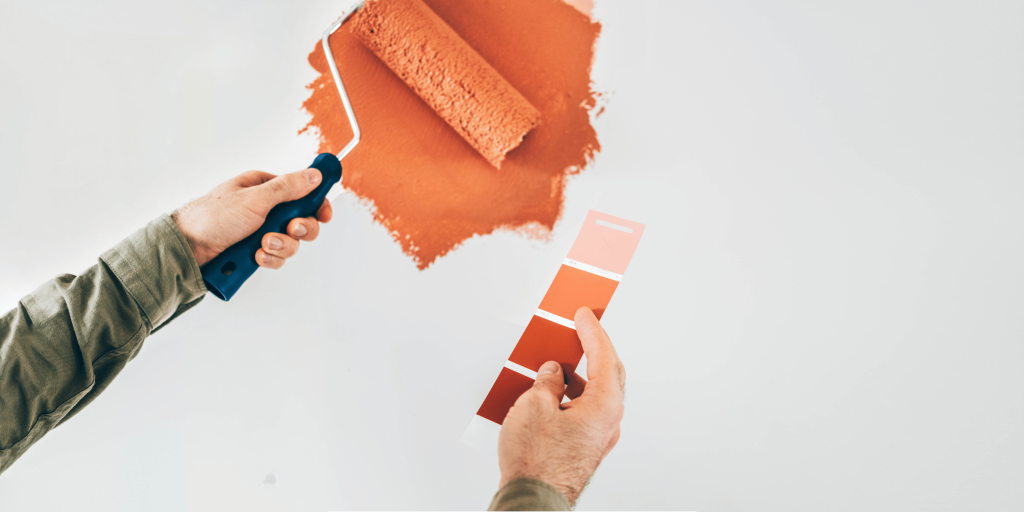
Choose Your Paint
When painting manufactured home walls, exterior latex paint meant for siding or masonry is ideal. More durable, flexible, and less permeable to moisture than standard interior paint. Choose a matte, silk, or low-sheen finish because high-sheen paints tend to accentuate any blemish on the walls. Off-white and beige colors are best suited for small spaces, while light blue, green, and grey are also ideal for tiny homes. Purchase a good quality paint-and-primer-in-one to minimize the time you spend on the process and obtain a better result.
Prepare the Space
Ideally, painting should be done in a room that has no items, decorations, fixtures, or fittings; therefore, move all from the room. Place sheets on the floor and put a cover or blanket over big installations that cannot be moved. Painter’s tape and drop cloths will help you protect any areas you do not want painted, including windows, doors, and trim. Ensure that you have enough light and air in the room when preparing for the painting.
Tools and Supplies
In addition to your paint and supplies to prep the walls and room, you will need:
• Painting tools and accessories – 2- to 3-inch angled sash brush for cutting in edges and a 4-inch brush for painting the big walls
• Paint roller and covers should be 3/8” nap
• Paint tray and roller grid
• Sandpaper – 120 to 150 grit to rough up glossy areas
• Spackle or caulk for filling holes/cracks
• Waste disposal items such as clean rags, plastic bags, etc.
Cut In the Edges
Before using the roller, use a sash brush to “paint” the borders or edges where the wall meets the ceiling/floor trim, windows, and door frames. Paint it in 2 to 3-inch-wide bands, cutting in approximately 2 to 3 roller widths from the edge. Cutting in on the edges is helpful in ensuring that the work done by the brush and the roller are consistent and smooth.
Apply Paint with a Roller
After the edges are cut in, you are then prepared to roll the central wall expanses. Dip the roller into the paint—careful not to use too much, though– and spread it up and down in “W” or zig zag motions across a 3’x3’ area. Reload the roller, go back to the newly painted area, and blend it with the previous section using vertical up and down strokes that are slightly feathered. Then work in small sections systematically around the room.
Apply Second Coat
Paint the second layer in the same manner as the first and cut in the edges, then use the rolling method. It is recommended that water-based paints should be applied in two coats, with the second coat providing an opaque coat. The second coat can be applied after the initial coat has dried according to the manufacturer’s instructions, which is within 2 to 4 hours. It is advised that at least two coats be applied for the best protection and create the best appearance.
Clean Up Properly
When you are done painting a particular wall or area, immediately wash the brushes and rollers with soap and water or cleaning solvents to remove any excess paint. Let them dry and then properly dispose of or recycle paint tray liners, drop cloths, and other disposables. Erase any painted areas or paint spills, immediately, using a damp cloth. Comply with all the instructions given by the manufacturer for paint clean-up and disposal.
Conclusion
If you want your old, dull, tired looking trailer walls to look brand new again, then it is relatively inexpensive; all you need to do is prepare the walls well and use the right painting style. The details of preparing, painting, and cleaning up will ensure that you get professional results. Take the time to do it correctly and to work in small sections, and you can make over even the oldest manufactured home interiors!
