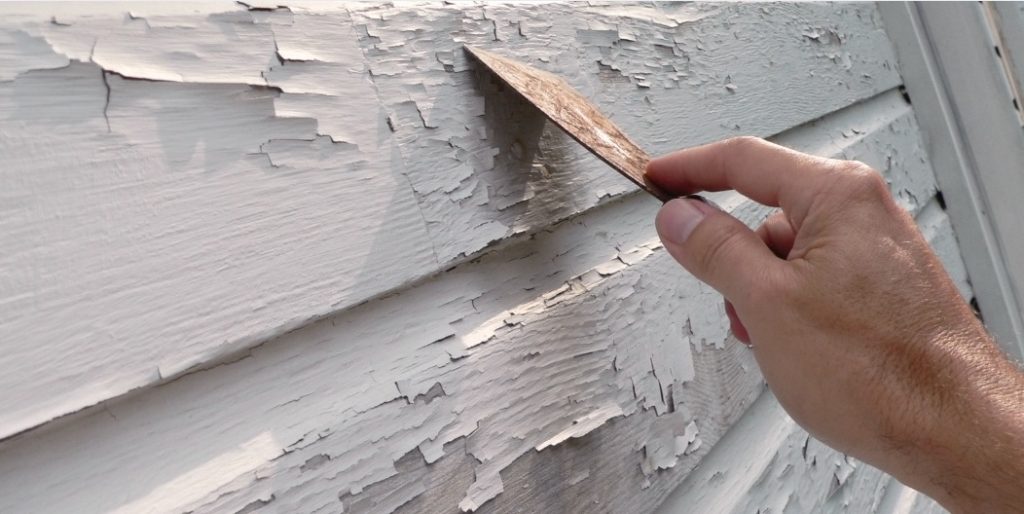
Chalking is an unpleasant problem where the paint on the outside of your house starts to peel off. Not only does it make your home appear old and uninhabited, but it also leads to further deterioration of the house. In this article, we will explain to you all the necessary actions to take in the case of peeling paint and restoring the proper look of your house.
Step 1: Preparation
When painting, make sure to first cover plants, trees, outdoor furniture, or anything that might be adjacent to the wall you are painting because there’s a chance of overspray or spilled paint and hurting them. You could also use drop cloths, plastic sheeting, or cardboard for this type of job.
Choose the Right Time
For the preparation, it is essential to decide when to do the repair work on peeling paint. It’s best to be done during dry weather only because rain or any moisture cause the wood to dry more slowly and can create more problems. Furthermore, you should refrain from painting when it is sunny because the sun dries the paint faster, which results in poor quality paint work.
Step 2: Cleaning the Surface
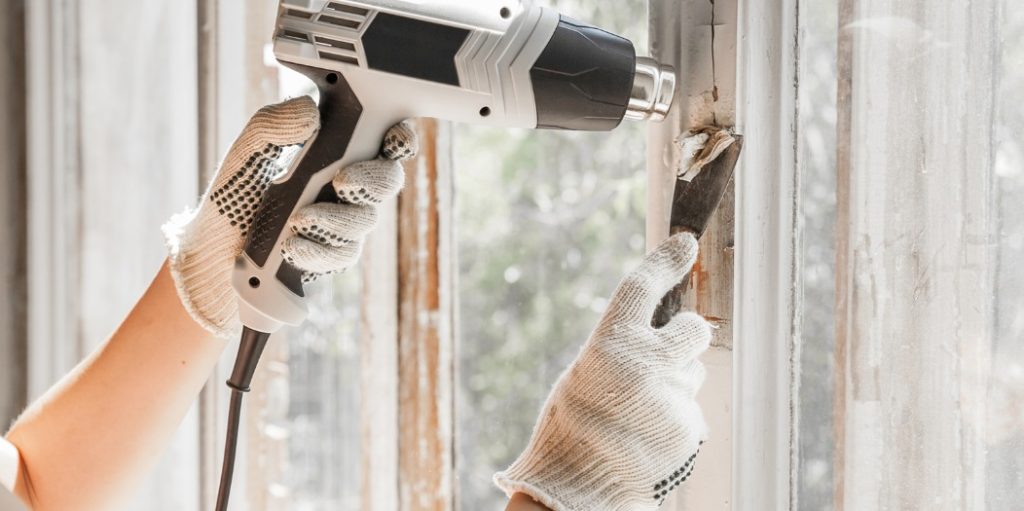
Ensure you have cleaned the area well. First, use a paint scraper or wire brush and take out any paint that is loose or has started to flake. Make sure that you work carefully because you don’t want to harm the base surface. After you have removed the chipped paint, wash the area with either high-pressure water or warm water and mild soap. Rinse with water, and allow to dry.
Fill in Cracks and Holes
Before painting over with fresh paint, it is necessary to cover the surface with putty where there are any cracks or holes present. Use a caulking gun to apply a high-quality exterior caulk to all the cracks or gaps and spread with your finger or a putty knife. Then, let the caulk set entirely before you continue on to the next step.
Sanding and Priming
Next, you need to sand the surface so it is smooth and even and is ready for the new paint to be applied. Use prepared fine-grit sandpaper in the direction of the wood grain. After sanding, the work surface needs to be wiped once utilizing a tack cloth or a vacuum cleaner.
It is also essential that after sanding, you apply a primer on the surface. This will ensure that the new paint adheres to the surface successfully. Select a good exterior primer, and use it by brushing or rolling as directed by the manufacturer on the container.
Step 3: Painting
After ensuring the surface is prepped and primed, it is time to paint. First, use a brush to cut along the perimeter and the edges of the corners. When you’re done with the cutting in part of the painting, go ahead and use the roller to paint the broad areas. Remember that when you’re painting, each one should blend seamlessly into the other.
Choosing the Right Paint
Choosing the right paint when repainting is important when dealing with the previous issue of peeling paint. Choose a good quality exterior paint that is recommended to paint wooden or masonry structures. Select a color that harmonizes with the tones of the rest of the building and take into account the quality of paint; some paints are less likely to chip or flake.
Apply Multiple Coats
To get the best result in your newly painted walls, apply two to three coats. Make sure you allow each layer to dry before proceeding with painting the next layer.
Step 4: Finishing Touches
Check the house carefully to make sure that no area is missed or has paint dripping, and wait for the paint to dry fully. If this sounds too complicated, you can hire a professional to perform the job. By following these tips, you will be able to change the looks of your home and make the improvements last a very long time.
