Welcome to our guide on reviving your deck with a new lick of paint! With the onset of warmer weather, this is the perfect opportunity to renovate your outdoor scenery and design a soothing retreat for relaxation and entertaining. Whether your deck is showing signs of wear and tear, or you want to freshen up the look, painting can turn things around for the better. Come with us, and let’s go through the step-by-step process of revamping an old deck for painting. and you will be able to enjoy a fabulous and long-lasting finish for years to come.
Measure the Condition of Your Deck
Before embarking on the journey of deck painting, take some time to examine the condition of your valuable outdoor space. To begin, please examine the wood for any visible signs of damage or wear. Watch for the gaps, splinters, or rot that may require immediate action.
Look for the structural integrity of your deck by looking at the support beams and posts. Give them a good quality and a solid fixing so they will not break down and be safe for the painting. Don’t overlook the examination of nails and screws, which will jut out and pose a danger.

Be aware of mold or mildew growth on the surface since these may damage the paint’s adhesion and longevity. Dealing with these challenges ahead of time will make the painting process more seamless, and we will be more satisfied with the results.
By fixing the deck’s problematic areas, you will ensure the smooth transition of your project into a lovely outdoor living space that will be brightened up by a fresh coat of paint!
Washing and Repairing Your Deck
When readying your old deck to be painted, cleaning and repair are the key points for getting a good and durable paint job. Commence the procedure by cleaning off the debris, dirt, or moss using the broom or power washer.
Do not forget to check the deck thoroughly for any signs of damage, like loose boards, nails sticking out and rotten wood. First, any damaged areas should be replaced or repaired before you go on to the next step.
You may try a deck cleaner solution for deep cleaning, which can remove tenacious stains and mildew. Start with a hard brush to clean the surface and make sure that all dirt is removed.
Railings and stairs are not an exception either. They should also undergo a detailed cleaning and an inspection for any repairs that may be needed. The first step, of course, is to thoroughly clean and repair your deck. This will help you achieve a professionally painted deck that will be appreciated for years.
The right paint for your deck is a very important decision
The decision on what type of paint to use for your deck ought to be made after considering some important factors. Choose a premium exterior paint for surfaces such as decks and exteriors. These paints are specially formulated to endure the elements with a long-lasting performance.
Regarding the paint color, choose something lighter, because it will reflect sunlight and let your deck stay cooler in summer. Still, darker shades can add a touch of sophistication, but they might absorb more heat. Imagine the design you plan to use for your deck and consider whether the chosen color will match the exterior of your home.
Search for paints with UV protection, mold and mildew resistance, and anti-slippery features to maintain durability and safety. Of course, choosing a finish you’ll like from glossy finishes that provide shine to matte finishes for a more subdued look is equally imperative.
Spend time to look for different paint options, for example, by reading the reviews from the other homeowners who have already painted their decks. The type of paint you use for your deck is very important in the appearance and protection of it for years to come.
Getting the Surface Ready for the Paint Job
After diagnosing and cleaning the deck surface, the next step for you to paint your deck is to make the surface ready. These tasks are about sanding any rough spots or old paint peeling off. Try a finely grit sandpaper to level out the surface and prepare it for new paint layers.
After cleaning the entire sanding area, use a brush or vacuum to remove all the dust and dirt. First, making a clean and dry surface for subsequent priming or painting is necessary.
Clean up the deck and do the inspection again for any remaining imperfections, such as cracks or splinters. Do this by filling these with wood filler and letting it dry completely before sanding them down again until you attain a smooth finish.
Paint the railings or trim on the balcony, you might put some masking tape on them to avoid getting paint on them. Doing the groundwork will give you a professional-looking finish when it comes time to paint.
Applying Primer and Paint
With the deck surface ready, you can begin applying the primer and paint. Primer will be the first thing you put on the wall as it will help the paint stick better and offer another layer of protection against the environment. Select a good-grade primer that is appropriate for outdoor use.
Choose exterior paint designed for deck and porch surfaces when you paint your deck. Consider factors such as UV protection and resistance to mold, mildew and water damage. A good quality of paint is a good idea to spend money on because it will make the wall last longer.

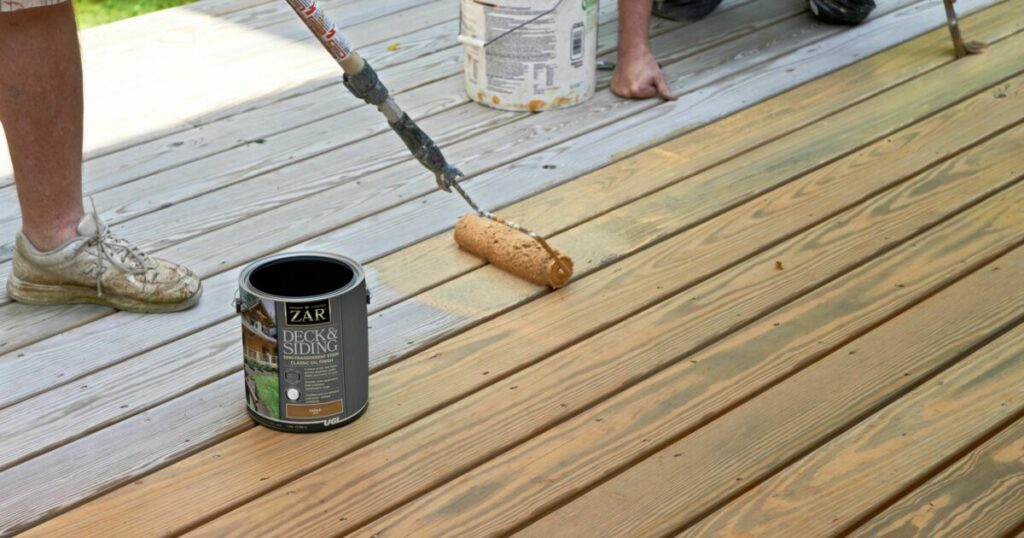
Begin with the application of the primer according to the manufacturer’s recommendation. Brush or roller should be used with even strokes to get consistent coverage on the wall. Wait for the primer to dry completely before you can paint.
When painting your deck, you should be patient and apply the coats thinly but evenly. Work in sections and keep an eye on dripping or lack of smoothness. Let coats dry completely and only then apply another layer.
If followed meticulously, these steps will show you have a spectacularly painted deck that looks great and can withstand the ravages of time. Don’t forget to prepare your deck well and apply the paint correctly to get a perfect result!
The Final Touches and How-to Tips
After you have managed to paint your deck, the next step is to add those tiny details that will finally make it look better than ever. You could also decorate it with potted plants, outdoor rugs, or string lights to make it warm and inviting.
To extend the life of your just painted deck, look at some basic maintenance tips. Keep the deck clean to prevent the accumulation of dirt and dust that can cause paint damage. On the other hand, you may want to consider resealing the wood with a new coat every year to prevent it from absorbing moisture and UV rays.
Don’t overlook any visible signs of wear, like chipped paint or loose boards, and fix them immediately to prevent more problems. By frequently doing maintenance work, you can be sure your painted deck will be beautiful for many years.
Conclusion
Preparing an old deck for painting could be a challenging job. Still, if you follow the steps correctly and care for it properly, you can make the outdoor space look great to protect it from the weather. Through evaluation the condition of your deck, cleaning and fixing any issues, choosing the best paint, prepping the surface correctly, applying the primer and paint right, and finishing with maintenance tips, you can make your deck look amazing and last for years to come. Therefore, tighten up your sleeves, get your materials, and let’s turn your old deck into a beautiful outdoor haven!

